Introduction to Half-Lap Joints
Half-lap joints are a popular choice in furniture making due to their strength and aesthetic appeal. These joints allow two pieces of wood to overlap, creating a sturdy bond that is both functional and visually pleasing. In this guide, we will walk you through the process of achieving perfected half-lap joints using basic tools, making it perfect for beginners.
Tools and Materials Needed
- Wood Pieces: Choose two pieces of wood that you want to join together.
- Measuring Tools: A tape measure and a square are essential for precise measurements.
- Marking Tools: A pencil or marking knife will help you outline your cuts.
- Saw: A hand saw or a miter saw can be used for cutting the joints.
- Chisel: A sharp chisel is crucial for cleaning up the joint area.
- Clamps: These will hold the pieces in place while the glue dries.
- Wood Glue: A good quality wood glue will help secure the joint.
Step-by-Step Guide to Cutting Half-Lap Joints
Step 1: Measuring and Marking
The first step in creating a half-lap joint is to measure and mark where you want to cut. Using your tape measure, determine how much of each piece will overlap. Typically, you will want to remove half the thickness of each piece of wood where they will join.
Step 2: Drawing the Cut Lines
Using a square, draw straight lines across both pieces of wood. Make sure these lines indicate the area you need to remove for the joint. It’s essential to be precise, as this will affect how well the joint fits together.
Step 3: Cutting the Wood
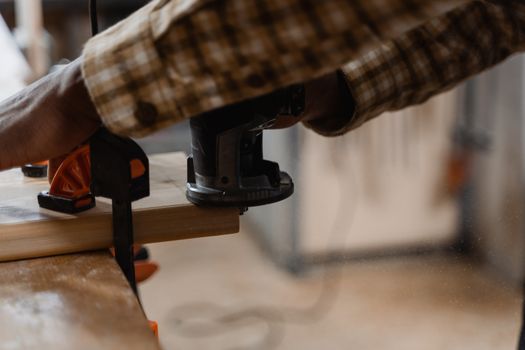
Using your saw, carefully cut along the marked lines. It is helpful to make multiple shallow cuts rather than one deep cut for better control and accuracy. If you are using a hand saw, ensure that you follow your lines closely.
Step 4: Removing the Waste Material
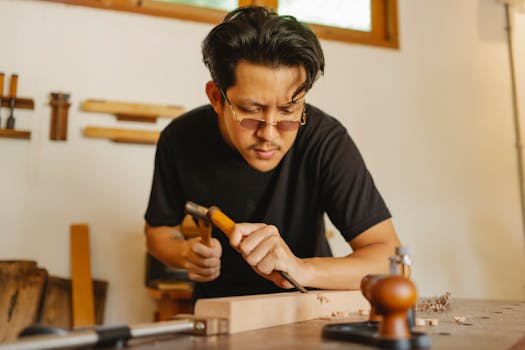
Once you have made your initial cuts, use a chisel to remove the waste material between the cuts. Be careful to only remove the wood that lies between your cut lines. This will create a flat surface for the joint.
Step 5: Fitting the Joint
After cleaning up the area with your chisel, it’s time to fit the joint. Place the two pieces together to ensure they fit snugly. There should be no gaps, and the pieces should sit flush against each other. If necessary, make slight adjustments with your chisel or saw.
Step 6: Gluing and Clamping
Once you are satisfied with the fit, apply wood glue to the joint area. Be sure to cover both surfaces that will be glued together. After applying the glue, press the pieces together and use clamps to hold them in place while the glue dries. Follow the manufacturer's instructions regarding drying time.
Step 7: Final Sanding
Once the glue has dried, remove the clamps and give the joint a final sanding. This will help smooth out any rough edges and ensure that the joint is flush. Use a fine-grit sandpaper for the best results.
Additional Tips for Success
- Practice: If you are new to woodworking, consider practicing on scrap wood before working on your actual project.
- Use Quality Materials: Opt for quality wood and glue to ensure the longevity of your furniture piece.
- Explore Resources: Check out Ted Woodworking for a wealth of plans and resources to guide you in your woodworking journey.
Conclusion
Half-lap joints are a fantastic way to create strong and beautiful furniture pieces. By following these steps and practicing your technique, you can achieve perfected half-lap joints that will elevate your woodworking projects. Remember to take your time and enjoy the process!
FAQ
What type of wood is best for half-lap joints?
Hardwoods like oak or maple are excellent choices for half-lap joints due to their strength and durability. However, softwoods like pine can also work well for less demanding projects.
Can I use a router for half-lap joints?
Yes, a router can be an effective tool for cutting half-lap joints, particularly if you have a router table. It allows for precise cuts and can speed up the process.
How strong are half-lap joints compared to other joints?
Half-lap joints are quite strong, especially when combined with wood glue. They offer good resistance to shear forces, making them a reliable choice for furniture making.
📚 Related Articles
🔨 Want 16,000+ Woodworking Plans?
Get instant access to step-by-step plans with blueprints and cut lists.
Get Instant Access →