Introduction to Dovetail Joints
Dovetail joints are a classic joinery technique used in woodworking to connect two pieces of wood at a right angle. They are known for their strength and resistance to pulling apart, making them a popular choice for building furniture such as drawers and cabinets. In this article, we will discuss how to cut perfect dovetail joints by hand, common mistakes to avoid, and troubleshooting tips and fixes.
Preparing the Wood
Before cutting the dovetail joints, it is essential to prepare the wood properly. This includes selecting the right type of wood, cutting it to the correct size, and ensuring that it is flat and smooth. Any imperfections in the wood can affect the accuracy of the joint and lead to a poor fit.
It is also important to use the right tools for the job. A dovetail saw, chisels, and a marking gauge are essential for cutting and fitting the joints. You can find plans and instructions for building a variety of projects, including those that use dovetail joints, at resources like Ted Woodworking.
Cutting the Tails
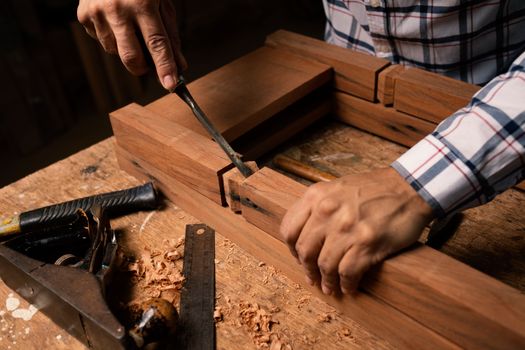
Cutting the tails of the dovetail joint is the first step in creating the joint. This involves using a dovetail saw to cut the angled edges of the tail board. It is crucial to cut the tails accurately, as any mistakes can affect the fit of the joint.
- Use a marking gauge to mark the location of the tails on the tail board.
- Use a dovetail saw to cut the tails, starting at the top and working down.
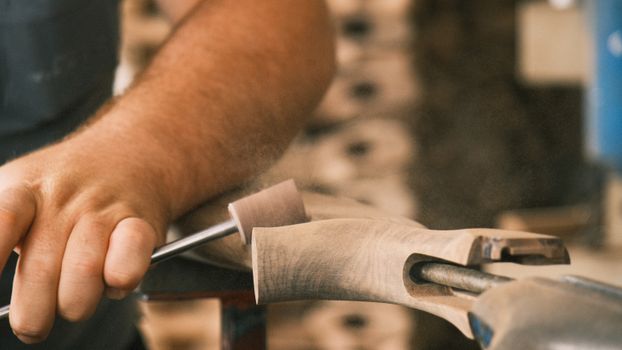
- Use a chisel to remove any excess wood and create a smooth surface.
Cutting the Pins
Cutting the pins of the dovetail joint is the next step. This involves using a dovetail saw to cut the corresponding angled edges of the pin board. It is essential to cut the pins accurately, as any mistakes can affect the fit of the joint.
- Use a marking gauge to mark the location of the pins on the pin board.
- Use a dovetail saw to cut the pins, starting at the top and working down.
- Use a chisel to remove any excess wood and create a smooth surface.
Assembling the Joint
Assembling the dovetail joint involves fitting the tails and pins together. This can be a challenging process, as the joints need to fit perfectly for the joint to be strong and durable.
Common mistakes to avoid when assembling the joint include:
- Forcing the joint together, which can damage the wood and create a poor fit.
- Not using enough glue, which can lead to a weak joint.
- Not clamping the joint properly, which can lead to a poor fit and a weak joint.
Troubleshooting tips and fixes for common problems include:
- Using a jointing plane to smooth out the surfaces of the wood and create a better fit.
- Applying more glue to the joint to strengthen it.
- Using clamps to hold the joint together while the glue dries.
Conclusion
Cutting perfect dovetail joints by hand requires patience, practice, and attention to detail. By following the steps outlined in this article and avoiding common mistakes, you can create strong and durable dovetail joints for your woodworking projects.
Frequently Asked Questions
Here are some frequently asked questions about cutting dovetail joints by hand:
- Q: What is the best type of wood to use for dovetail joints? A: The best type of wood to use for dovetail joints is a hardwood such as oak or maple, as it is strong and durable.
- Q: How do I fix a dovetail joint that is too loose? A: To fix a dovetail joint that is too loose, you can apply more glue to the joint and clamp it together while the glue dries.
- Q: What is the most common mistake to avoid when cutting dovetail joints by hand? A: The most common mistake to avoid when cutting dovetail joints by hand is forcing the joint together, which can damage the wood and create a poor fit.
🔨 Want 16,000+ Woodworking Plans?
Get instant access to step-by-step plans with blueprints and cut lists.
Get Instant Access →