Introduction
Finishing techniques are vital to bringing out the beauty of your woodworking projects, especially after completing joinery work. A well-finished piece not only looks stunning but also protects the wood from moisture and wear. In this guide, we will explore the best practices for finishing techniques after joinery work, focusing on simplicity and basic tools suitable for beginners.
Understanding the Importance of Finishing
Finishing serves multiple purposes:
- Protection: Finishing helps prevent damage from moisture, dirt, and scratches.
- Aesthetics: A good finish enhances the natural beauty of the wood, showcasing its grain and color.
- Durability: Proper finishing increases the longevity of your furniture.
Step-by-Step Guide to Finishing After Joinery Work
Step 1: Prepare Your Workspace
Before starting the finishing process, ensure your workspace is clean and well-ventilated. Gather the following materials:
- Sandpaper (various grits, typically 120, 220, and 320)
- Wood conditioner (if using softwoods)
- Stain or paint
- Clear coat (polyurethane, lacquer, or oil)
- Brushes or rags
- Masking tape
- Drop cloths or newspapers
Step 2: Sanding the Surface
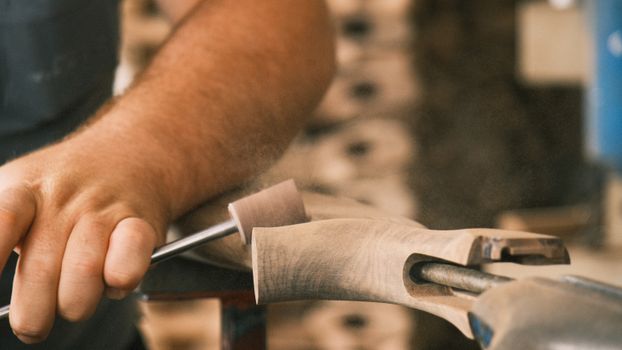
Sanding is crucial for preparing the wood for finishing. Follow these steps:
- Start with 120-grit sandpaper to remove any rough spots or imperfections.
- Progress to 220-grit sandpaper to smooth out the surface. Always sand in the direction of the wood grain to avoid scratches.
- Finish with 320-grit sandpaper for a super smooth surface.
- Make sure to remove all dust using a damp cloth or a vacuum before proceeding to the next step.
Step 3: Apply Wood Conditioner (if necessary)
For softwoods like pine or fir, applying a wood conditioner is recommended to ensure an even stain application. Here’s how:
- Use a clean rag or brush to apply a thin layer of wood conditioner.
- Allow it to sit for about 15 minutes and then wipe off any excess.
- Let it dry as per the manufacturer's instructions before moving on to staining.
Step 4: Staining the Wood
Staining enhances the color of the wood and highlights its grain. Follow these steps for application:
- Choose a stain color that complements your project.
- Using a clean rag or brush, apply the stain in the direction of the grain.
- Allow it to sit for a few minutes, then wipe off the excess stain with a clean rag. The longer you let it sit, the darker the color will be.
- Let the stain dry completely before applying the clear coat, usually around 24 hours.
Step 5: Applying a Clear Coat
A clear coat adds protection and enhances the finish. Here’s how to apply it:
- Select a clear coat based on your desired finish (gloss, satin, or matte).
- Using a high-quality brush or spray can, apply the clear coat in thin, even layers.
- Allow the first coat to dry completely, then lightly sand with 320-grit sandpaper between coats.
- Apply a second coat for added durability, repeating the sanding process.
- Let the final coat cure for several days before using the furniture.
Additional Tips for Successful Finishing
- Always test your stain and finish on a scrap piece of wood to ensure you like the color and finish.
- Work in a well-ventilated area to avoid inhaling fumes from the stain and clear coat.
- Keep your brushes and tools clean to ensure a smooth application.
- Consider using Ted Woodworking as a resource for comprehensive plans and finishing techniques.
Conclusion
Finishing techniques after joinery work are essential to achieving a professional-looking woodworking project. By following these simple steps and using basic tools, even beginners can create beautiful and long-lasting finishes. Remember to take your time and enjoy the process of bringing your woodworking creations to life!
FAQ
1. How long should I wait between applying different finishes?
It’s generally advisable to wait 24 hours between coats of stain or clear coat. Always check the manufacturer’s instructions for specific drying times.
2. Can I skip sanding if I am using a wood conditioner?
No, sanding is crucial for creating a smooth surface. A wood conditioner helps with even stain absorption but does not replace the need for sanding.
3. What type of finish is best for furniture used outdoors?
For outdoor furniture, a marine-grade finish or a UV-resistant exterior wood finish is recommended for durability against the elements.
📚 Related Articles
🔨 Want 16,000+ Woodworking Plans?
Get instant access to step-by-step plans with blueprints and cut lists.
Get Instant Access →