Introduction
Building your own furniture can be a rewarding experience, but to ensure that your hard work lasts, applying the right surface finishes is essential. Not only do these finishes enhance the appearance of your furniture, but they also protect it from wear and tear. In this beginner-friendly guide, we will explore various surface finishing techniques that can significantly enhance the durability of your furniture.
Why Surface Finishing Matters
Surface finishing serves multiple purposes:
- Protection: It shields the wood from moisture, dirt, and scratches.
- Aesthetics: Finishes can enhance the wood's natural beauty and add color.
- Longevity: A good finish prolongs the life of your furniture.
Basic Tools Needed for Surface Finishing
Before diving into the techniques, you will need some basic tools:
- Sandpaper (various grits)
- Paintbrushes or foam applicators
- Rags or paper towels
- Finish of your choice (oil, varnish, lacquer, etc.)
- Safety goggles and mask
Step-by-Step Guide to Surface Finishing Techniques
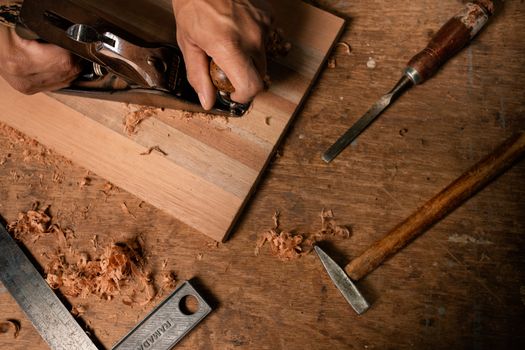
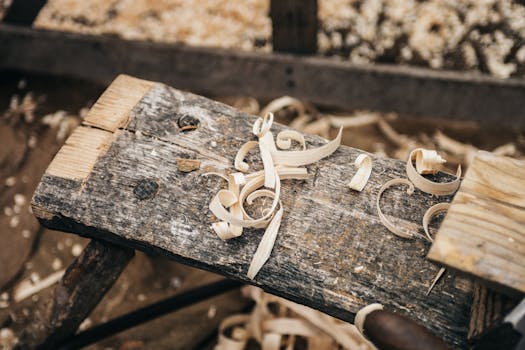
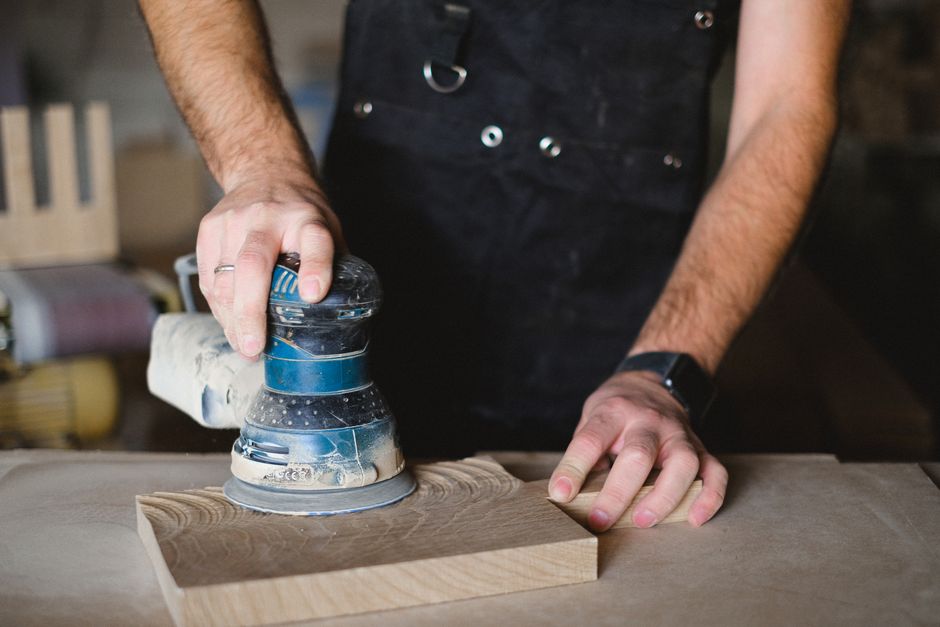
1. Sanding
Sanding is the first and most crucial step in any surface finishing process. It prepares the wood for a smooth application of the finish.
- Start with a coarse grit sandpaper (80 to 120 grit) to remove any rough spots.
- Progressively move to finer grits (220 to 320 grit) to achieve a smooth surface.
- Always sand in the direction of the wood grain to avoid scratches.
- After sanding, clean the surface with a damp cloth to remove dust.
2. Choosing the Right Finish
There are several surface finishes available, each with its own benefits:
- Oil: Penetrates the wood deeply and enhances natural grain but requires reapplication over time.
- Varnish: Forms a hard protective layer and is water-resistant, making it ideal for surfaces that see heavy use.
- Lacquer: Dries quickly and provides a high-gloss finish, but can be more difficult to apply.
Choose a finish based on the furniture's purpose and your desired look. For practical furniture, varnish is often the best choice.
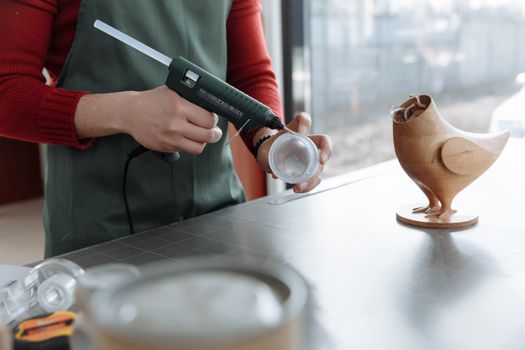
3. Applying the Finish
Once you’ve selected your finish, it's time to apply it:
- Use a clean brush or foam applicator to apply the finish evenly. Work in small sections.
- Apply the finish in the direction of the wood grain to avoid streaks.
- Allow the first coat to dry according to the manufacturer's instructions.
- Sand lightly between coats with fine grit sandpaper (320 grit) for better adhesion.
- Apply additional coats as needed; two to three coats are usually sufficient for durability.
4. Curing the Finish
After the final coat, allow the finish to cure completely. This process can take anywhere from a few days to a few weeks, depending on the finish used. Curing is crucial as it allows the finish to harden and provides the best protection for your furniture.
Additional Tips for Enhancing Durability
- Store Properly: Keep furniture away from direct sunlight and extreme temperatures to prevent warping and fading.
- Regular Maintenance: Dust and clean your furniture regularly to maintain its appearance and longevity.
- Use Coasters: Protect surfaces from drinks and hot items to minimize wear.
Resources for Furniture Plans
If you're looking for inspiration or detailed plans for your next furniture project, consider checking out Ted Woodworking. This resource offers a plethora of woodworking plans that can guide you through creating stunning and durable furniture.
Conclusion
Surface finishing is an essential skill for anyone looking to create durable furniture. By following this step-by-step guide, you can enhance the beauty and longevity of your projects. Remember, patience is key – take your time with each step to ensure the best results.
FAQ
1. How long does it take for a finish to dry?
The drying time varies by finish type, but it generally takes 1-8 hours for a coat to dry. Always refer to the manufacturer's instructions for specific drying times.
2. Can I use multiple types of finishes on the same piece?
It is not recommended to combine different types of finishes, as they may react poorly with each other. Stick to one type for consistency and best results.
3. How often do I need to reapply the finish?
This depends on the type of finish and the wear it experiences. Generally, oil finishes may need reapplication every 6-12 months, while varnish can last several years.
📚 Related Articles
🔨 Want 16,000+ Woodworking Plans?
Get instant access to step-by-step plans with blueprints and cut lists.
Get Instant Access →