Best Practices for Finishing Birch Wood Successfully
Birch wood is a popular choice among woodworkers due to its fine grain, durability, and versatility. When it comes to finishing birch, achieving a professional look requires attention to detail and mastery of advanced techniques. This article will delve into the best practices for finishing birch wood successfully, focusing on precision in joinery and surface preparation.
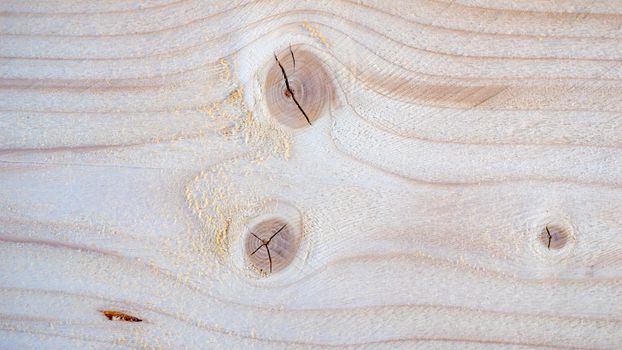
Understanding Birch Wood
Before diving into finishing techniques, it’s crucial to understand the characteristics of birch wood. Birch is a hardwood known for its light color and smooth texture, which makes it an excellent candidate for a variety of finishes. However, it can also be challenging to finish due to its density and tendency to absorb stains unevenly.
Preparing the Surface
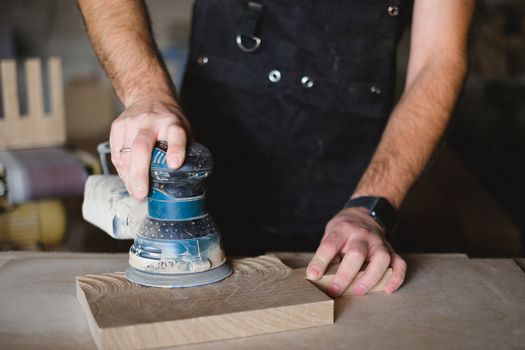
The first step in achieving a flawless finish is proper surface preparation. Here are some best practices:
- Sanding: Start with a coarse grit sandpaper (around 80 grit) and gradually progress to finer grits (up to 220 grit). This will help remove any imperfections and create a smooth surface.
- Grain Filling: Birch has a fine grain that can sometimes require filling for a perfectly smooth finish. Use a grain filler that matches the wood color to fill any pores and achieve a uniform surface.
- Cleaning: After sanding, ensure that the surface is free of dust and debris. Use a damp cloth or a tack cloth to wipe down the entire piece.
Choosing the Right Finish
The choice of finish can significantly affect the final appearance of your birch project. Here are some popular options:
- Oil Finish: Tung oil or Danish oil can enhance the natural beauty of birch while providing a warm glow. Apply multiple coats, allowing each coat to fully cure before adding the next.
- Shellac: Shellac provides a beautiful, natural finish and is excellent for sealing and protecting birch. It dries quickly, allowing for multiple coats in a short period.
- Polyurethane: For maximum durability, especially in high-use areas, consider a water-based or oil-based polyurethane. Water-based finishes are particularly advantageous as they dry clear and enhance birch’s natural light color.
Application Techniques
How you apply the finish can make a significant difference in the final result. Here are some advanced application techniques:
- Brush Application: Use high-quality brushes to apply finishes evenly. A good brush will help avoid streaks and ensure an even coat.
- Spraying: For a professional-grade finish, consider using a spray gun. This method allows for a smooth, even application and minimizes brush marks.
- Wiping: When using oil finishes, wiping on with a clean cloth can help control the amount of finish applied and create a more uniform look.
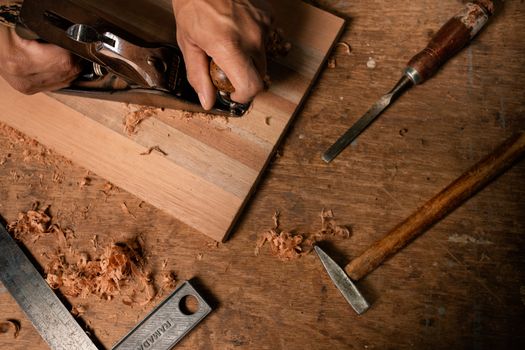
Precision in Joinery
Finishing birch wood is not just about the surface; the way you join pieces together can impact the overall finish. Here are some best practices for joinery:
- Accurate Cuts: Use precision tools for cutting joints, as gaps can lead to uneven finishes. A table saw or a miter saw allows for clean, accurate cuts.
- Dry Fitting: Before final assembly, dry fit all joints to ensure proper alignment. This step can save time and help avoid issues during the finishing process.
- Clamping Techniques: Use clamps to hold pieces securely during glue-up. Proper clamping minimizes movement and ensures tight joints, which leads to a better finish.
Finishing Touches
After applying your chosen finish, the final touches can make a significant difference:
- Buffing: Once your finish has cured, consider buffing the surface with a soft cloth or a buffing pad for added sheen.
- Final Inspection: Inspect the finished piece for any imperfections. Minor flaws can often be corrected with light sanding and an additional coat of finish.
- Maintenance: Educate your clients or yourself on proper care and maintenance to keep the finish looking pristine over time.
Utilizing Resources
If you’re looking for detailed plans and more finishing techniques, consider resources like Ted Woodworking. They offer a vast library of woodworking plans that can enhance your skills and help you tackle various projects with confidence.
Conclusion
Finishing birch wood successfully requires a combination of proper preparation, a well-chosen finish, and meticulous application techniques. By paying attention to detail in both finishing and joinery, you can achieve a stunning, professional-grade result that showcases the natural beauty of birch. Whether you are building furniture or crafting decorative pieces, these best practices will help you elevate your woodworking projects.
FAQ
- What is the best finish for birch wood? The best finish depends on the intended use; for durability, consider polyurethane, while oil finishes provide a warm, natural look.
- How can I avoid blotching when staining birch? Use a pre-stain conditioner to help achieve a more uniform stain application on birch wood.
- Can I use a spray finish on birch wood? Yes, spraying can provide a smooth, even finish, but ensure proper ventilation and practice for best results.
📚 Related Articles
🔨 Want 16,000+ Woodworking Plans?
Get instant access to step-by-step plans with blueprints and cut lists.
Get Instant Access →