Introduction to Half-Lap Joints
Half-lap joints are a staple in furniture making, providing both strength and aesthetic appeal. These joints are particularly advantageous for budget-conscious woodworkers, as they require less material than other joint types and can be crafted with simple tools. In this article, we will explore how to achieve perfected half-lap joints while keeping your costs low.
What is a Half-Lap Joint?
A half-lap joint is formed by removing half the thickness of two pieces of wood so that they overlap each other. This joint is not only strong but also offers a clean, flush finish that is ideal for various furniture projects.
Tools and Materials Needed
Before diving into the process, gather the following tools and materials:
- Tools:
- Table saw or circular saw
- Chisel and mallet
- Measuring tape
- Square
- Clamps
- Materials:
- Affordable hardwood like pine, poplar, or birch
- Wood glue
Step-by-Step Guide to Making Half-Lap Joints
Step 1: Measure and Mark
Start by measuring the pieces you want to join. Use a square to mark where you will cut the joint on both pieces of wood. Ensure your marks are clear and precise to achieve a perfect fit.
Step 2: Set Up Your Saw
Using a table saw is the most efficient way to create half-lap joints. Set the blade height to half the thickness of your wood. If you're using a circular saw, you can achieve similar results by making multiple passes at the same depth.
Step 3: Make the Cuts
Carefully cut along the marked lines on both pieces of wood. For table saws, you can use a fence to ensure straight cuts. If you're using a circular saw, guide your cuts with a straight edge for accuracy.
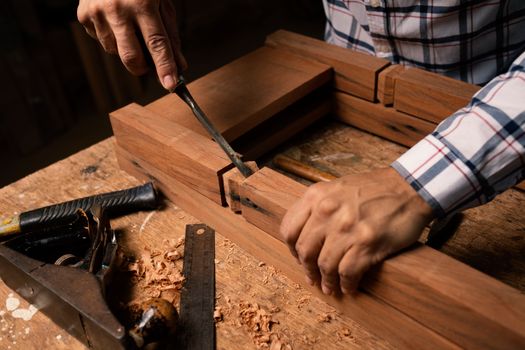
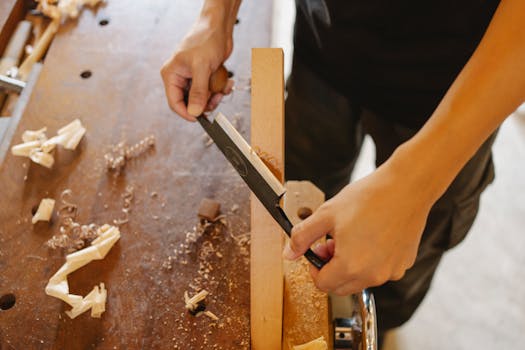
Step 4: Clean Up the Joints
Once the cuts are made, you may need to clean up the joint area with a chisel. This helps to remove any rough edges or splinters, ensuring a snug fit.
Step 5: Test Fit
Before applying glue, test fit the pieces together. Ensure they fit snugly without gaps. If necessary, make small adjustments using your chisel or sandpaper.
Step 6: Apply Glue and Clamp
Once satisfied with the fit, apply wood glue to the joint surfaces and press them together. Use clamps to hold the pieces in place while the glue dries, following the manufacturer's instructions for drying time.
Step 7: Finish the Joint
After the glue has dried, remove the clamps and sand the joint area to smooth out any excess glue and ensure a seamless finish. You can also apply a finish, such as stain or sealant, to complete your project.
Budget-Saving Tips for Half-Lap Joints
- Use Affordable Materials: Opt for hardwoods that are cost-effective yet durable, such as pine or poplar. These woods are often less expensive and readily available at local lumberyards.
- DIY Tools: If you don't own a table saw, consider renting one or using a circular saw with a straightedge guide. This can save you money on tool purchases.
- Practice on Scraps: Before cutting your final pieces, practice on scrap wood to refine your technique without risking your main materials.
- Explore Resources: Check out plans from Ted Woodworking. Their extensive collection can provide inspiration and guidance for projects that incorporate half-lap joints.
Conclusion
Perfecting half-lap joints can elevate your furniture making while keeping costs manageable. With the right techniques and materials, you can create strong, beautiful joints that enhance the durability and appearance of your projects. Remember to practice and utilize budget-friendly resources to maximize your woodworking potential.
FAQ Section
1. What types of furniture can I build using half-lap joints?
Half-lap joints are versatile and can be used in various furniture pieces, including tables, chairs, and cabinets. They are particularly useful in frame construction.
2. How do I ensure my half-lap joints are strong?
To ensure strength, make precise cuts, clean the joint surfaces, and use quality wood glue. Additionally, proper clamping during drying will enhance the joint's durability.
3. Can I use half-lap joints for outdoor furniture?
Yes, half-lap joints can be used for outdoor furniture. However, it is advisable to use weather-resistant wood and finishes to prolong the life of your project in outdoor conditions.
📚 Related Articles
🔨 Want 16,000+ Woodworking Plans?
Get instant access to step-by-step plans with blueprints and cut lists.
Get Instant Access →