How to Build a Customized Wooden Planter Box for Your Garden
Building a wooden planter box is an excellent project that combines functionality with aesthetics, allowing you to enhance your garden’s beauty while providing a nurturing home for your plants. In this article, we will explore advanced techniques focusing on joinery, precision, and achieving a professional finish. With the right tools and a bit of patience, you can create a customized planter box that will last for years.
Materials and Tools Needed
- Materials:
- Untreated cedar or redwood lumber (for durability and resistance to rot)
- Wood screws or stainless steel screws
- Wood glue
- Wood finish (non-toxic sealant or stain)
- Landscaping fabric (to prevent soil from escaping)
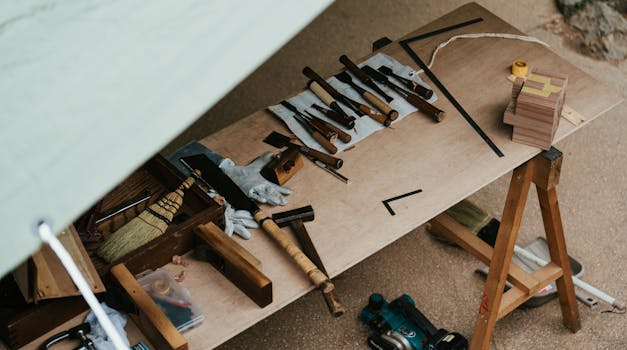
- Tools:
- Table saw or circular saw
- Miter saw
- Drill and drill bits
- Clamps
- Sander (orbital or belt sander)
- Measuring tape
- Square
- Pencil
Designing Your Planter Box
Before you start cutting the wood, it’s crucial to have a design in mind. Consider the dimensions of your planter box based on the space available in your garden and the size of the plants you wish to grow. A common size is 4 feet long, 2 feet wide, and 2 feet deep, but feel free to customize it to your liking.
Sketch your design, including the top view, front view, and side view. This will help you visualize the final product and ensure that all components fit together seamlessly. For detailed plans, you can refer to resources like Ted Woodworking, which offers comprehensive plans that cater to various skill levels.
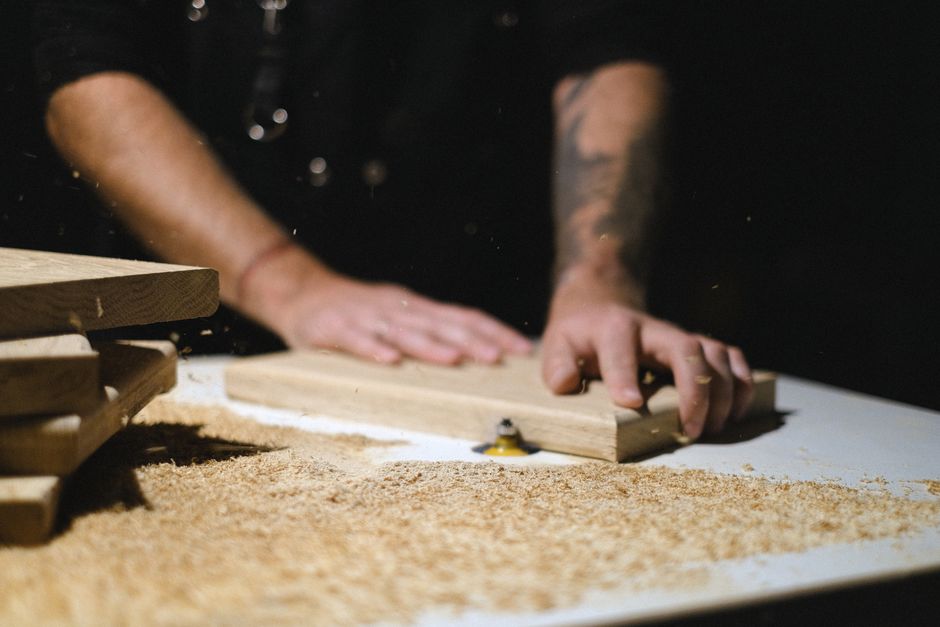
Cutting the Wood
Once you have your design finalized, it’s time to cut the wood to size. Use a table saw or circular saw for straight cuts, and a miter saw for crosscuts. Ensure that all pieces are cut accurately to maintain precision throughout the build.
- For the base, cut four pieces to the width and length of your planter box, and an additional piece for the bottom, ensuring that it fits snugly within the frame.
- For the sides, cut four pieces to your desired height, ensuring the lengths match the width of the base pieces.
Joinery Techniques
Advanced joinery techniques not only add aesthetic appeal but also enhance the structural integrity of your planter box. Here are some techniques you can use:
Dado Joints
Dado joints are great for joining the base to the sides of your planter box. To create a dado joint:
- Set your table saw to the desired width and depth.
- Cut a groove along the edges of the base pieces where they will meet the side pieces.
- This will allow the sides to sit flush against the base, providing a sturdy connection.
Mortise and Tenon Joints
This traditional joinery technique is perfect for adding strength. Here’s how to create mortise and tenon joints:
- Cut a tenon on the end of the side pieces that will fit snugly into a mortise cut into the corresponding base pieces.
- Ensure that the fit is tight, but not overly so, to allow for wood expansion.
Pocket Hole Joinery
Pocket hole joinery is another effective method that allows for hidden screws. For this technique:
- Use a pocket hole jig to drill holes at an angle into the sides of your wood pieces.
- Join the pieces together using screws, ensuring that they are hidden from view.
Assembling the Planter Box
With your joints cut and pieces ready, it’s time to assemble your planter box.
- Start by attaching the base to the side pieces using your chosen joinery technique. Use wood glue along with screws for added strength.
- Ensure everything is square by measuring diagonally from corner to corner.
- Once the frame is assembled, attach the bottom piece, ensuring that it fits tightly within the dados.
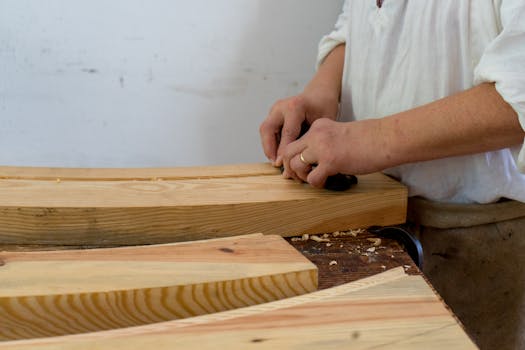
Finishing Touches
A professional finish can elevate the appearance of your planter box. Here are some steps to achieve that:
- Sanding: Sand all surfaces starting with a coarse grit and progressing to a finer grit for a smooth finish.
- Sealing: Apply a non-toxic sealant or stain to protect the wood from moisture and UV damage. Be sure to follow the manufacturer’s instructions for application and drying times.
- Landscaping Fabric: Line the inside of the planter with landscaping fabric to prevent soil from washing out while allowing for drainage.
Final Placement and Planting
Once your planter box is assembled and finished, choose a suitable location in your garden that receives adequate sunlight. Fill it with quality soil, and plant your preferred flowers, herbs, or vegetables. Enjoy your handiwork!
Conclusion
Building a customized wooden planter box is not only a rewarding project but also a great way to enhance your garden. By incorporating advanced joinery techniques and taking the time to achieve a professional finish, your planter box will stand out and serve you well for years to come. Remember to consult resources like Ted Woodworking for additional plans and inspiration.
FAQ
- What type of wood is best for a planter box? Untreated cedar or redwood is ideal due to their natural resistance to rot.
- How do I prevent drainage issues in my planter box? Ensure proper drainage by drilling holes in the bottom and lining with landscaping fabric.
- Can I use treated lumber for my planter box? It is recommended to avoid treated lumber for edible plants due to potential chemicals; use untreated wood instead.
📚 Related Articles
🔨 Want 16,000+ Woodworking Plans?
Get instant access to step-by-step plans with blueprints and cut lists.
Get Instant Access →