Introduction
If you're looking to add a charming touch to your yard while providing a safe haven for local birds, building a simple DIY wood birdhouse is an excellent project. Not only is it enjoyable to make, but it also contributes to your garden's ecosystem. In this guide, we will walk you through the process of building your own birdhouse while highlighting common mistakes to avoid and troubleshooting tips to ensure a successful project.
Materials and Tools Needed
Before you start, gather the following materials and tools:
- Materials:
- Wood (cedar or pine is ideal)
- Wood screws or nails
- Wood glue
- Sandpaper
- Wood finish (optional)
- Birdhouse plans (consider using resources like Ted Woodworking)
- Tools:
- Measuring tape
- Speed square
- Saw (circular saw or hand saw)
- Drill
- Clamps (optional)
- Paintbrush (if finishing)
Step-by-Step Instructions
Step 1: Choose Your Birdhouse Design
Before you cut any wood, choose a birdhouse design suitable for your local bird species. Ensure that the dimensions fit the birds you wish to attract. Resources like Ted Woodworking offer a variety of plans that can help you select the best design for your needs.
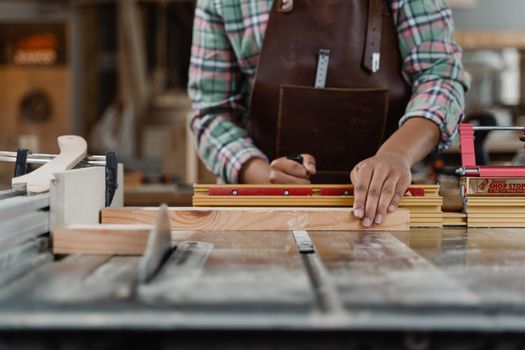
Step 2: Cut the Wood Pieces
Using your plans, measure and mark the wood pieces accurately. Common components include:
- Front and back panels
- Side panels
- Bottom panel
- Roof panels
One common mistake is not measuring twice and cutting once. Always double-check your measurements to ensure proper fit.
Step 3: Drill the Entrance Hole
The entrance hole is critical for the birdhouse. Use a drill to create a hole that matches the dimensions suitable for your target bird species. Avoid making it too large, as it may allow predators to enter. A common troubleshooting tip is to drill pilot holes first to prevent the wood from splitting.
Step 4: Assemble the Birdhouse
Begin assembling your birdhouse by attaching the side panels to the bottom panel using wood screws or nails. It’s important to ensure the bottom panel has drainage holes to prevent water accumulation. A common mistake is failing to add these holes, leading to mold and an unsuitable environment for birds.
Step 5: Attach the Front and Back Panels
Next, secure the front and back panels to the sides. Make sure everything is aligned properly. Use a speed square for accurate angles. If your panels are not fitting well, check for any uneven cuts or splintering wood.
Step 6: Add the Roof
The roof should be slanted to allow rain to run off. Attach the roof panels securely, ensuring there are no gaps. If gaps exist, consider using wood glue or caulk to seal them. A common error is underestimating the importance of a well-fitted roof, which can lead to water leaks.
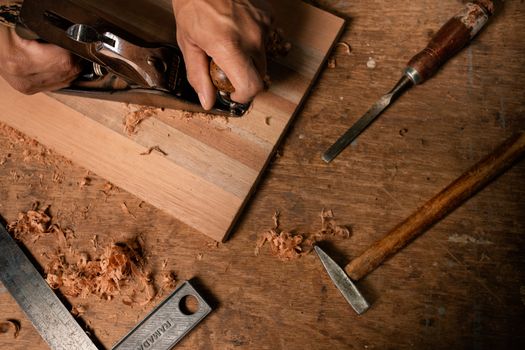
Step 7: Sand and Finish the Birdhouse
Once assembled, sand all rough edges to prevent injury to the birds. If you choose to finish your birdhouse, use a non-toxic paint or wood finish. Avoid using treated wood, as the chemicals can be harmful to wildlife.
Common Mistakes to Avoid
- Inaccurate Measurements: Always measure twice to avoid mistakes.
- Poor Ventilation: Forgetting to drill ventilation holes can lead to overheating.
- Ignoring Drainage: Not including drainage holes can cause water to accumulate inside.
- Using Treated Wood: Avoid treated wood, as it may contain harmful chemicals for birds.
- Overly Complicated Designs: Choose a simple design if you are a beginner.
Troubleshooting Tips
- If your birdhouse isn’t stable, check if all screws are tightened and that the base is level.
- For leaks, ensure all joints are sealed and that the roof is positioned correctly.
- If birds are not using your birdhouse, consider its location and ensure it is placed in a safe, quiet area away from predators.
Conclusion
Building a birdhouse is a rewarding DIY project that can enhance your garden and support local wildlife. By avoiding common mistakes and following the steps outlined above, you can create a functional and beautiful birdhouse. Don't forget to explore resources like Ted Woodworking for more plans and ideas!
FAQ
Do I need special tools to build a birdhouse?
No, basic woodworking tools like a saw, drill, and measuring tape are sufficient for building a simple birdhouse.
What type of wood is best for a birdhouse?
Cedar and pine are excellent choices due to their durability and resistance to decay.
How can I attract birds to my new birdhouse?
Place your birdhouse in a quiet area, ideally facing away from prevailing winds, and ensure it is at the correct height for the bird species you want to attract.
📚 Related Articles
🔨 Want 16,000+ Woodworking Plans?
Get instant access to step-by-step plans with blueprints and cut lists.
Get Instant Access →