Best Woodworking Techniques for Creating Stunning Wall Art
Creating beautiful wall art can transform your home, and woodworking provides a unique way to express your creativity. Whether you're a beginner or just looking to refine your skills, this guide will walk you through some of the best woodworking techniques for crafting stunning pieces of wall art using simple tools and materials.
Choosing Your Wood
The first step in any woodworking project is selecting the right wood. For wall art, you might want to consider the following types:
- Pine: Affordable and easy to work with, pine is a great choice for beginners.
- Plywood: Versatile and available in various thicknesses, plywood can provide a smooth surface for painting.
- Maple: A bit more expensive, but it offers a beautiful grain pattern and durability.
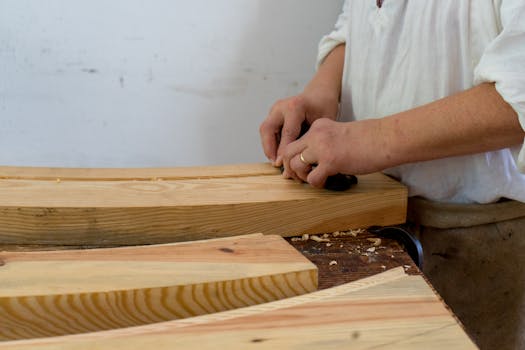
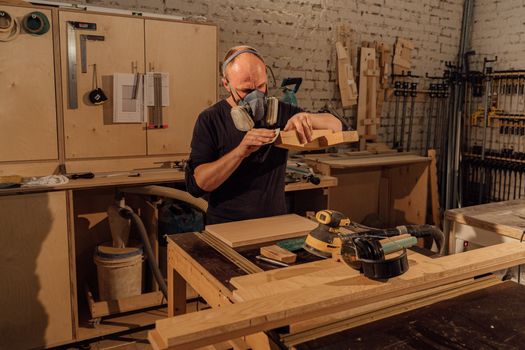
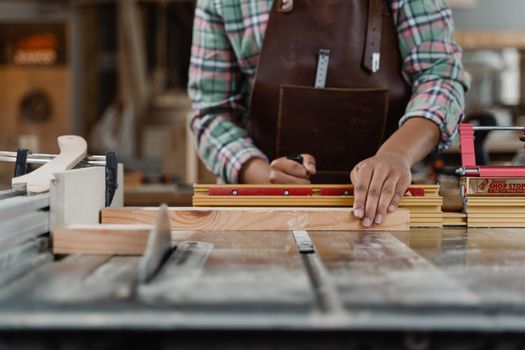
Basic Tools You Will Need
For your woodworking project, you won’t need a massive workshop or advanced tools. Here’s a list of basic tools that will help you create stunning wall art:
- Measuring tape: Essential for accurate measurements.
- Square: Ensures your cuts are straight and angles are precise.
- Saw: A hand saw or a jigsaw will work fine for cutting wood.
- Sandpaper: For smoothing rough edges and surfaces.
- Paint or wood stain: To finish your artwork and enhance the wood’s natural beauty.
- Wood glue and clamps: For joining pieces together securely.
- Drill: Useful for making holes for hanging or adding decorative elements.
Techniques to Create Stunning Wall Art
Now that you have your wood and tools ready, let’s dive into some techniques you can use to create your wall art.
1. Simple Geometric Shapes
One of the easiest ways to create wall art is by using geometric shapes. Here’s how:
- Draw your design on paper, focusing on simple shapes like triangles, squares, and rectangles.
- Use your measuring tape and square to transfer the design onto your wood.
- Cut the shapes out with your saw.
- Sand the edges until smooth.
- Arrange the shapes on a larger piece of wood or canvas and glue them in place.
- Finish with paint or stain to add color and depth.
2. Wood Layering
Layering different pieces of wood can create depth and interest in your artwork:
- Choose various thicknesses of wood for your layers.
- Cut the pieces into different shapes or sizes.
- Sand the edges and surfaces.
- Glue the layers together, starting with the largest piece as your base.
- Finish with paint, or leave it natural for a rustic look.
3. Wood Burning
Wood burning, or pyrography, adds a personal touch to your wall art:
- Draw your design on the wood surface with a pencil.
- Using a wood-burning tool, carefully trace over your design.
- Vary the pressure to create different shades and textures.
- Finish with a clear coat to protect your artwork.
4. Shadow Boxes
Shadow boxes allow you to create three-dimensional wall art:
- Start with a deep frame or build a box from wood.
- Cut various shapes or items to place inside the box.
- Arrange and secure your items in layers.
- Finish the box with paint or stain for a polished look.
Utilizing Resources Like Ted's Woodworking
If you're looking for detailed plans and inspiration, consider checking out Ted's Woodworking. This resource offers a plethora of woodworking plans that can guide you through various projects, including wall art. With step-by-step instructions, you'll find it easier to embark on your creative woodworking journey.
Finishing Touches
Once your wall art is assembled, don’t forget to add finishing touches:
- Sealing: Apply a sealant to protect your artwork from moisture and wear.
- Hanging: Use appropriate hardware to securely hang your art on the wall.
- Lighting: Consider how lighting will enhance your artwork; spotlights can create dramatic effects.
Final Thoughts
Creating stunning wall art through woodworking is a rewarding process that allows you to express your individuality. By using simple techniques and basic tools, you can produce beautiful pieces that will enhance your home decor. Remember, practice makes perfect, so don’t be afraid to experiment with different designs and methods!
FAQs
What type of wood is best for beginners?
Pine is often recommended for beginners due to its affordability and ease of workability.
Do I need advanced tools to create wall art?
No, you can start with basic tools like a saw, sandpaper, and glue to create beautiful pieces.
Where can I find woodworking plans?
Resources like Ted's Woodworking offer a variety of plans and instructions for different woodworking projects.
📚 Related Articles
🔨 Want 16,000+ Woodworking Plans?
Get instant access to step-by-step plans with blueprints and cut lists.
Get Instant Access →