Introduction
Building a customized wooden planter box can elevate your garden's aesthetics and functionality. This project not only allows you to express your creativity but also provides an opportunity to hone your woodworking skills, particularly in joinery and finishing techniques. In this article, we will delve into advanced methods to ensure precision and a professional finish for your planter box.
Materials Needed
- Wood Selection: Choose rot-resistant wood such as cedar, redwood, or pressure-treated pine.
- Wood Glue: A waterproof wood glue for added durability.
- Wood Screws: Use corrosion-resistant screws for longevity.
- Wood Finish: A non-toxic wood sealer or stain to protect the wood.
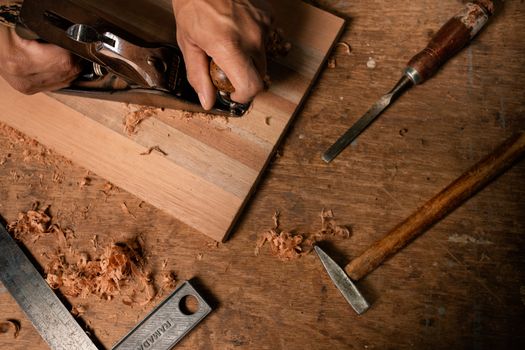
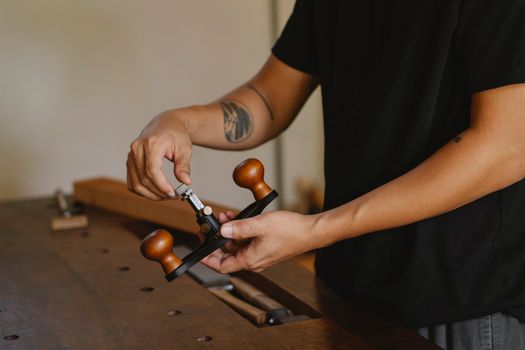
- Tools: Table saw, miter saw, drill, clamps, measuring tape, square, and sanding block.
Designing Your Planter Box
Before you start cutting wood, you should have a clear design in mind. Measure the area where you plan to place the planter box and decide on the dimensions. A typical size might be 4 feet long, 2 feet wide, and 1 foot deep. Sketch your design, including any aesthetic features like decorative edges or built-in trellises.
Joinery Techniques
To achieve a sturdy and visually appealing planter box, the choice of joinery is crucial. Below are some advanced joinery techniques you can use:
1. Mortise and Tenon Joint
The mortise and tenon joint is a classic woodworking technique that provides excellent strength. Here's how to create it:
- Cut a tenon (a protruding piece) on the end of one board.
- Drill a mortise (a corresponding hole) into the other board.
- Apply wood glue to both surfaces and insert the tenon into the mortise. Use clamps to secure the joint while the glue dries.
2. Dovetail Joint
Dovetail joints are not only strong but also visually appealing. They are often used for box construction. Follow these steps:
- Mark dovetail angles on both pieces of wood.
- Cut the tails on one board and the pins on the other.
- Assemble the joints using wood glue and clamps.
3. Pocket Hole Joinery
This method is simpler and faster, making it ideal for beginners or for those looking for efficiency:
- Use a pocket hole jig to drill angled holes into one piece of wood.
- Join the pieces using screws for a strong, hidden connection.
Assembly Process
Once you have your joints cut and prepared, it's time to assemble the planter box:
- Start by assembling the sides of the planter using your chosen joinery technique.
- Attach the bottom panel, making sure to leave drainage holes to prevent water accumulation.
- Secure the corners with wood screws for additional strength.
- Check for squareness using a carpenter's square after each step.
Finishing Touches
A professional finish can make all the difference in the final appearance of your planter box. Here are some tips for achieving a high-quality finish:
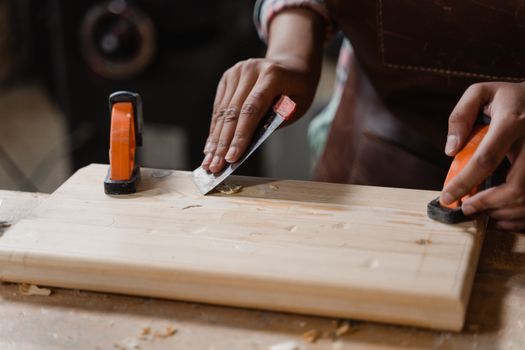
- Sanding: Start with a coarse grit sandpaper and move to a finer grit for a smooth surface. Pay attention to the edges and corners.
- Sealing: Use a non-toxic wood sealer or stain to protect the wood from moisture and UV rays. Apply with a brush or rag, following the wood grain.
- Final Inspection: Check for any rough spots or imperfections and sand them down before applying the final coat of finish.
Additional Resources
If you're looking for detailed plans and further guidance on woodworking projects, consider checking out Ted Woodworking. This resource provides a wide array of plans that can help you enhance your woodworking skills.
Conclusion
Building a customized wooden planter box is a rewarding project that allows you to utilize advanced joinery techniques and achieve a professional finish. With careful planning, precise execution, and attention to detail, your planter box will not only serve as a functional piece of garden decor but also as a testament to your woodworking skills.
FAQ
1. What type of wood is best for a planter box?
Cedar and redwood are excellent choices due to their natural resistance to rot and insects. Pressure-treated pine is also an option but may require a non-toxic liner to prevent leaching.
2. How do I ensure my planter box has proper drainage?
Drill several drainage holes in the bottom of the planter box to allow excess water to escape. This prevents root rot and promotes healthy plant growth.
3. Can I customize the size of my planter box?
Absolutely! You can adjust the dimensions to fit your specific space and design preferences. Just ensure that the proportions remain balanced for aesthetic appeal.
📚 Related Articles
🔨 Want 16,000+ Woodworking Plans?
Get instant access to step-by-step plans with blueprints and cut lists.
Get Instant Access →