How to Create a Simple Wooden Bookshelf Using Basic Tools
Building your own wooden bookshelf is a rewarding project that can enhance any room in your home. Whether you need extra storage for your favorite novels or want to showcase decorative items, a simple bookshelf is a perfect DIY project for beginners. In this guide, we'll walk you through the process of creating a basic wooden bookshelf using easily accessible tools. Let’s get started!
Materials Needed
- 1x12 lumber (3 pieces, cut to desired height)
- 1x2 lumber (2 pieces for the top and bottom supports)
- Wood screws (1.25 inches)
- Wood glue
- Sandpaper (120 and 220 grit)
- Wood finish or paint (optional)
Tools Required
- Measuring tape
- Circular saw or hand saw
- Drill with drill bits
- Screwdriver
- Clamps
- Square
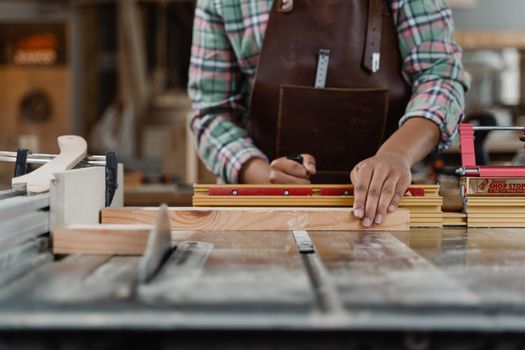
Step 1: Measure and Cut Your Lumber
Begin by deciding the dimensions of your bookshelf. A standard bookshelf might be around 36 inches high and 30 inches wide, but feel free to customize it to your space. Measure and mark your cuts on the 1x12 lumber and 1x2 lumber. Here’s what you’ll need:
- Two side panels (1x12) - 36 inches long
- One back panel (1x12) - 30 inches long
- One top support (1x2) - 30 inches long
- One bottom support (1x2) - 30 inches long
Using a circular saw or hand saw, carefully cut the lumber according to your measurements.
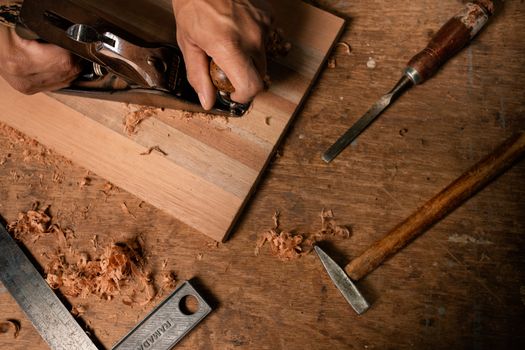
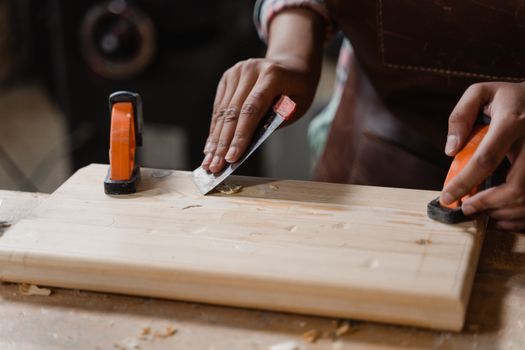
Step 2: Prepare the Panels
Once your pieces are cut, start by sanding the edges and surfaces with 120 grit sandpaper, followed by 220 grit for a smooth finish. This step is crucial as it removes any splinters and prepares the wood for finishing.
Step 3: Assemble the Bookshelf Frame
To create the basic frame of the bookshelf, you’ll first attach the side panels to the top and bottom supports.
- Lay the two side panels on a flat surface, standing them vertically.
- Position the top support between the two side panels, aligning it with the top edges.
- Use wood glue to secure the top support in place, then drill pilot holes and insert wood screws to fasten it.
- Repeat this process with the bottom support, ensuring it is aligned with the bottom edges of the side panels.
At this point, you should have a rectangular frame.
Step 4: Attach the Back Panel
Next, attach the back panel to provide stability and prevent books from falling off the back. Here’s how:
- Position the back panel against the frame.
- Drill pilot holes along the edges of the back panel and secure it using wood screws.
This step not only reinforces the structure but also gives your bookshelf a finished look.
Step 5: Add Shelves (Optional)
If you want to include shelves, you can cut additional pieces of 1x12 lumber to your desired length. Common shelf heights are around 12-15 inches apart, but you can customize them based on your needs.
- Mark the height where you want the shelves on the side panels.
- Use a square to ensure your marks are level.
- Drill holes for shelf pins or additional supports, then insert the shelves.
Step 6: Finishing Touches
Now that your bookshelf is assembled, it’s time to finish it. You can choose to stain or paint the wood. If you opt for a wood finish, apply it as per the manufacturer's instructions. Allow ample drying time before placing items on the shelves.
Step 7: Final Check and Placement
Once the finish is dry, check the bookshelf for stability and make any adjustments as needed. Finally, place your new bookshelf in your desired location and fill it with your favorite books and decorative items!
Additional Resources
If you are looking for more detailed plans or inspiration, consider checking out Ted Woodworking. They offer a variety of woodworking plans and projects that can help you hone your skills.
FAQ
1. What type of wood is best for a beginner bookshelf?
Pine is an excellent choice for beginners because it is affordable, easy to work with, and readily available. Other options include plywood or MDF for a smooth finish.
2. Can I customize the size of my bookshelf?
Absolutely! You can adjust the dimensions of your bookshelf to fit your space and needs. Just remember to adjust the length of the shelves accordingly.
3. How long will this project take?
Depending on your skill level and the tools you have, this project can take anywhere from a few hours to a weekend. Take your time to ensure quality craftsmanship!
📚 Related Articles
🔨 Want 16,000+ Woodworking Plans?
Get instant access to step-by-step plans with blueprints and cut lists.
Get Instant Access →