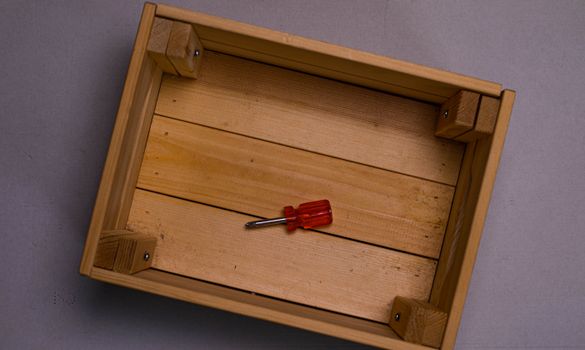
Introduction to Box Joints
\nBox joints, also known as finger joints, are a popular joinery technique used in woodworking. They are not only strong and durable but also add an eye-catching aesthetic to your projects. In this article, we will guide you through the process of creating stunning box joints, including essential tools, techniques, and tips for beginner woodworkers.
\n\nUnderstanding Box Joints
\nBox joints are characterized by their interlocking fingers, which can be seen when the joint is viewed from the end. The strength of the joint comes from the increased surface area for glue and the mechanical interlock of the fingers. This makes them an excellent choice for drawers, boxes, and other furniture pieces.
\n\nWhy Choose Box Joints?
\n- \n
- Strength: Box joints provide a strong mechanical bond, making them ideal for load-bearing applications. \n
- Aesthetics: The unique appearance of box joints adds visual interest to furniture projects. \n
- Ease of Use: Once you get the hang of it, creating box joints can be straightforward and rewarding. \n
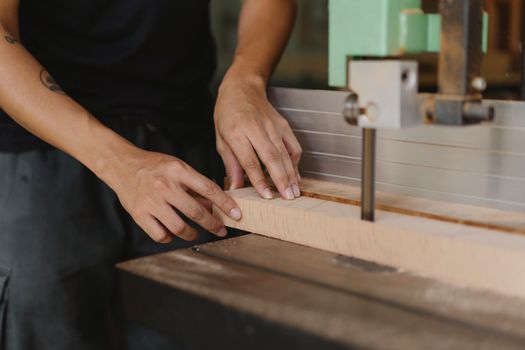
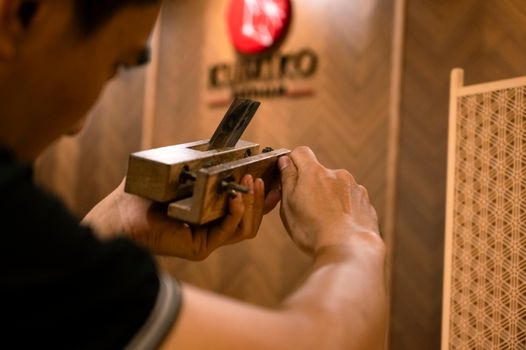
Essential Tools for Creating Box Joints
\nTo create box joints, you will need the following tools:
\n- \n
- Table Saw: A table saw is essential for making precise cuts. Choose one with a reliable fence for accuracy. \n
- Box Joint Jig: A dedicated box joint jig simplifies the process, allowing for consistent cuts. Brands like Incra offer excellent options. \n
- Router: A router can be used for making box joints with a different approach. Look for a router table for added stability. \n
- Clamps: Good quality clamps are crucial for holding the joint together while the glue dries. \n
- Measuring Tools: A reliable square and measuring tape help ensure all your cuts are accurate. \n
- Sandpaper: For finishing touches and smoothing out any rough edges. \n
Tool Reviews
\n1. Table Saw
\nPros: Provides accurate cuts, versatile for various woodworking projects, and essential for any serious woodworker.
Cons: Can be expensive and requires a dedicated space in your workshop.
2. Box Joint Jig
\nPros: Simplifies the box joint process, ensures consistent finger widths, and is relatively easy to set up.
Cons: Some jigs can be pricey, and setting them up may take time for beginners.
3. Router
\nPros: Versatile tool for various joinery techniques, produces clean cuts, and can be used for decorative edges.
Cons: Requires practice to master, and a router table can be an additional investment.
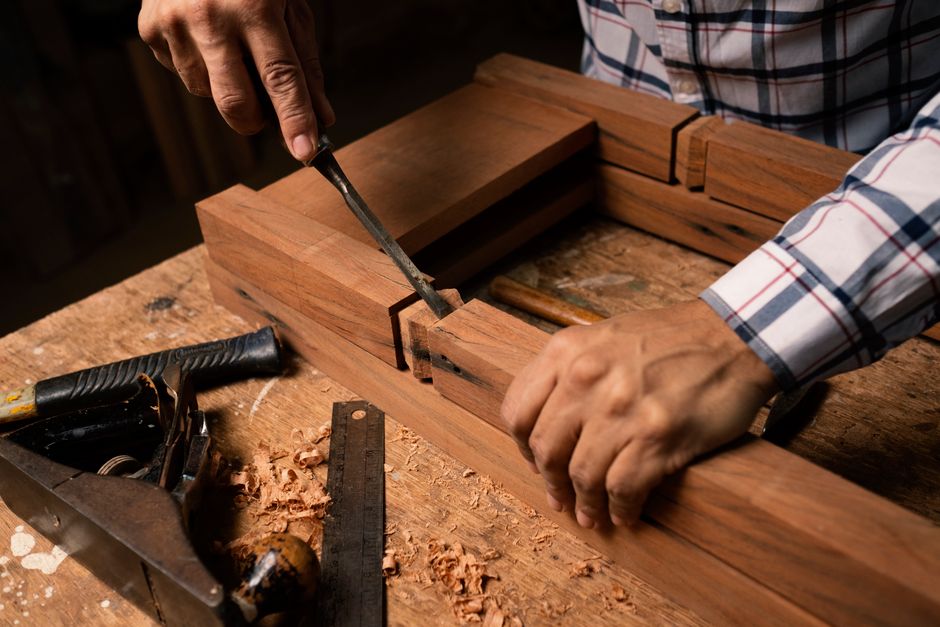
Step-by-Step Guide to Making Box Joints
\nStep 1: Prepare Your Materials
\nStart by selecting the wood you want to use for your project. Make sure to cut your pieces to the desired length, ensuring they are square and even.
\n\nStep 2: Set Up Your Box Joint Jig
\nFollow the manufacturer's instructions to set up your box joint jig. Adjust the finger width according to your design. Most jigs come with templates or guides to help you achieve accurate spacing.
\n\nStep 3: Make the Cuts
\nWith your table saw and jig set up, begin making your cuts. Cut one piece at a time to ensure accuracy. Take your time and make sure each finger fits snugly into its corresponding slot.
\n\nStep 4: Dry Fit the Joint
\nBefore applying glue, do a dry fit of the joint to check for any adjustments. This is a crucial step to ensure that all pieces fit perfectly.
\n\nStep 5: Apply Glue and Clamp
\nOnce you are satisfied with the fit, apply wood glue to the fingers and assemble the joint. Use clamps to hold everything in place while the glue dries. Make sure to wipe away any excess glue that squeezes out.
\n\nStep 6: Finishing Touches
\nAfter the glue has dried, remove the clamps and use sandpaper to smooth out any rough edges. You can also apply a finish to enhance the appearance of your project.
\n\nAdditional Resources
\nFor those looking for detailed woodworking plans, consider checking out Ted Woodworking. They offer a variety of plans that can help you incorporate box joints into your projects.
\n\nConclusion
\nCreating box joints can seem daunting at first, but with the right tools and practice, you can master this joinery technique. Not only do box joints provide strength and durability, but they also add a unique flair to your woodworking projects. Start with simple projects and gradually increase the complexity as you gain confidence.
\n\nFAQ
\n1. What type of wood is best for box joints?
\nAny hardwood, such as oak, maple, or birch, works well for box joints. Choose wood that fits your project's aesthetic and strength requirements.
\n\n2. How can I ensure my box joints are perfectly aligned?
\nUsing a quality box joint jig and double-checking your measurements before cutting will help ensure perfect alignment.
\n\n3. Can I use box joints for larger projects?
\nYes, box joints can be scaled up for larger furniture pieces, but ensure that the joint's size is appropriate for the load it will bear.
📚 Related Articles
🔨 Want 16,000+ Woodworking Plans?
Get instant access to step-by-step plans with blueprints and cut lists.
Get Instant Access →