Introduction to Dovetail Joints
Dovetail joints are celebrated in woodworking for their strength and aesthetic appeal. When executed correctly, they offer a beautiful and durable connection between pieces of wood, making them a favorite among furniture makers. In this article, we will explore advanced techniques for mastering dovetail joints using only hand tools, ensuring precision and a professional finish.
Understanding the Dovetail Joint
Before diving into the techniques, it is essential to understand the anatomy of a dovetail joint. A typical dovetail joint consists of two main components: the tail and the pin. The tail is cut on one board while the pin is cut on the adjoining board, allowing the two to fit together seamlessly. The beauty of this joint lies in its interlocking design, which provides incredible strength, especially in drawer construction and box making.
Choosing the Right Tools
To achieve precision when working with dovetail joints, hand tools are your best allies. Here are the essential tools you’ll need:
- Chisels: A set of sharp chisels, particularly in sizes ranging from 1/4" to 1".
- Hand Saw: A dovetail saw with fine teeth will allow for clean cuts.
- Marking Gauge: For accurate layout lines, a marking gauge is indispensable.
- Square: A try square or combination square ensures your cuts are straight and true.
- Clamps: Use clamps to secure your workpieces while cutting.
- Ruler: A precise ruler for measuring lengths accurately.
- Files or Rasps: For smoothing edges and refining the fit.
Preparing Your Workpieces
Start with quality wood that is properly dried and free from defects. For dovetail joints, hardwoods like oak, maple, or cherry are excellent choices. Here’s how to prepare:
- **Select Your Boards:** Choose boards that match in thickness and width for a uniform appearance.
- **Flatten and Square:** Ensure that all surfaces are flat and square using a hand plane and a square.
- **Mark the Layout:** Use your marking gauge to scribe the locations for your tails and pins. Be consistent with your measurements.
Cutting the Tails
Now that your boards are prepared, it’s time to cut the tails. Follow these steps:
- **Mark the Tail Layout:** On the board designated for the tails, mark the width of each tail and the spacing in between. A common ratio is to have a 1:5 ratio for the angle of the tails.
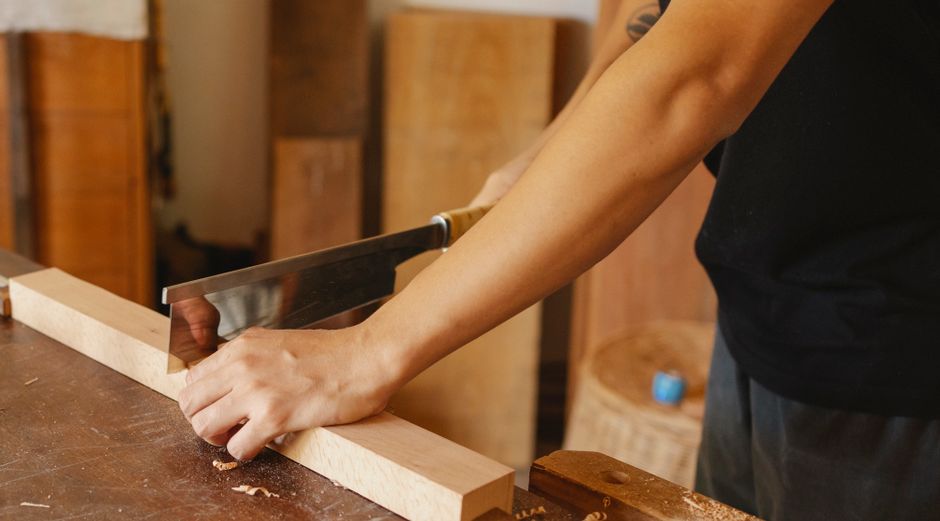
- **Cut the Tails:** Using your dovetail saw, carefully cut along the lines, ensuring to maintain a steady hand for clean, straight cuts.
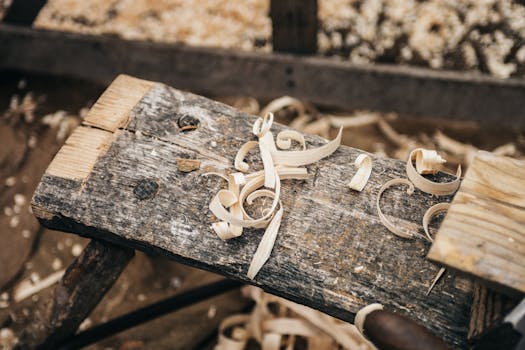
- **Chisel Out the Waste:** With your chisel, carefully remove the waste between the tails. Always cut with the grain to avoid tear-out.
Cutting the Pins
After the tails are complete, the next step is to cut the pins on the adjoining board:
- **Transfer the Tail Shape:** Place the tail board against the pin board, aligning them perfectly. Use a marking knife to trace the outline of the tails onto the pin board.
- **Cut the Pins:** Using the dovetail saw, cut along the marked lines for the pins. Again, maintain precision to ensure a snug fit.
- **Chisel Out the Waste:** Similar to the tails, remove the waste between the pins using your chisel.
Fitting and Adjusting the Joint
At this stage, you should have the basic joint cut. However, achieving a perfect fit requires careful adjustments:
- **Dry Fit the Joint:** Assemble the joint without glue to check for fit. Look for any gaps or misalignments.
- **Adjust if Necessary:** Use your chisel or files to make any necessary adjustments, ensuring a tight fit.
- **Final Fit Check:** Once satisfied, perform one last dry fit to confirm that everything aligns perfectly.
Finishing Touches
After the joint is fitted, it’s time to focus on the finish:
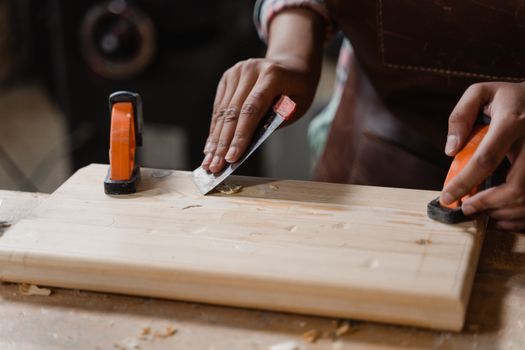
- **Sand the Joint:** Carefully sand any rough edges using fine-grit sandpaper. This will help make the joint less visible and more aesthetically pleasing.
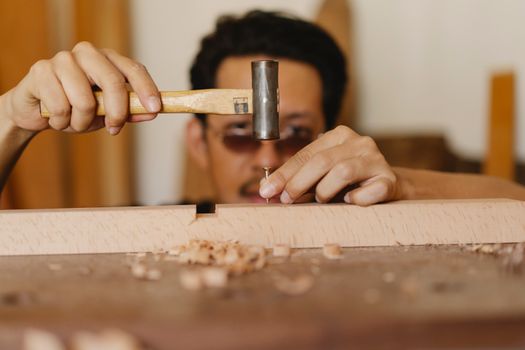
- **Apply Glue:** When ready, apply a thin layer of wood glue to the joint and assemble it once again. Wipe away any excess glue immediately.
- **Clamp the Joint:** Use clamps to hold the joint together while the glue dries. This step is crucial for maintaining the integrity of your dovetail joint.
Resources for Mastery
If you are looking for detailed plans and additional guidance on dovetail joints and other woodworking projects, Ted Woodworking is an excellent resource. Their extensive library includes step-by-step plans that can help enhance your skills in joinery and furniture building.
Conclusion
Mastering dovetail joints with hand tools requires practice, patience, and precision. By focusing on the details and employing the techniques outlined in this article, you can create joints that not only provide strength but also enhance the beauty of your woodworking projects. Remember, the journey to mastery is a continuous one, so keep honing your skills and experimenting with different techniques.
FAQ
- How long does it take to master dovetail joints? Mastery can take months or years, depending on your dedication and practice frequency.
- What wood is best for practicing dovetail joints? Softwoods like pine are excellent for practice due to their workability and lower cost.
- Can I use power tools for dovetail joints? While hand tools provide a traditional approach, power tools can also be used, but they may not offer the same level of precision and aesthetic quality.
📚 Related Articles
🔨 Want 16,000+ Woodworking Plans?
Get instant access to step-by-step plans with blueprints and cut lists.
Get Instant Access →