How to Create a Distressed Finish on New Wood
If you want to give your woodworking projects a rustic, vintage look, a distressed finish is a fantastic choice. This technique adds character and charm to new wood, making it look like it's been around for decades. In this beginner-friendly guide, we'll walk you through the steps to create a distressed finish using basic tools and materials.
Why Choose a Distressed Finish?
A distressed finish not only enhances the aesthetic appeal of your furniture but also helps conceal minor imperfections. This technique is particularly popular in farmhouse-style decor, where the goal is to create a warm and inviting atmosphere.
Materials and Tools You Will Need
- New wood item (such as a table, chair, or shelf)
- Sandpaper (medium and fine grit)
- Paint or stain (your choice of color)
- Rag or brush (for applying stain or paint)
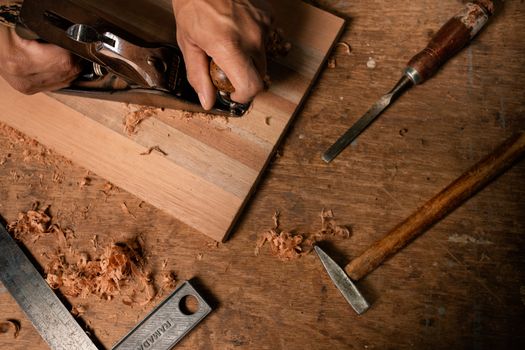
- Distressing tools (hammer, chains, or other textured objects)
- Clear topcoat (polyurethane or wax)
- Ted Woodworking plans (for project ideas)
Step-by-Step Guide to Creating a Distressed Finish
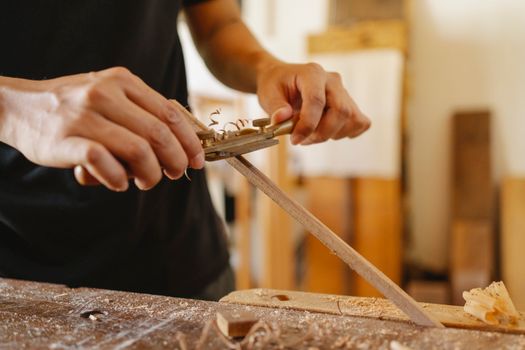
Step 1: Prepare the Wood
Start by sanding the new wood to create a smooth surface. Use medium-grit sandpaper (around 120-grit) to remove any rough spots and then finish with fine-grit sandpaper (220-grit) to achieve a silky finish. Be sure to sand along the grain to avoid scratches.
Step 2: Apply Your Base Coat
Once the wood is smooth, it’s time to apply your base coat. This can be paint or stain, depending on the look you want to achieve. Use a rag or brush to apply an even coat over the entire surface. Allow the base coat to dry completely according to the manufacturer’s instructions. A general rule of thumb is to wait at least 2-4 hours.
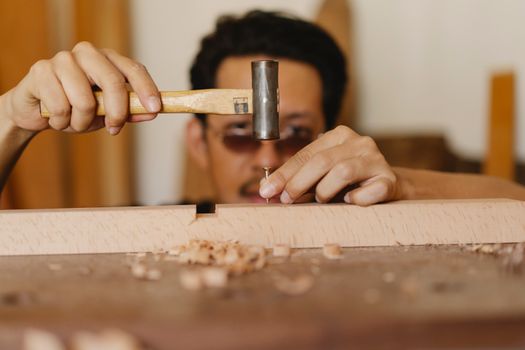
Step 3: Distressing the Wood
Now comes the fun part—distressing the wood! There are several methods to achieve this look:
- Hammering: Lightly hammer the surface with a hammer to create small dents and dings.
- Chains: Drag a metal chain across the surface to create scratches and texture.
- Other tools: Use nails, screws, or even a wire brush to add additional imperfections.
Remember that less is more. You can always add more distressing, but you can’t take it away once it’s done. So start light and build up the distressing gradually.
Step 4: Apply a Secondary Coat
After you’ve achieved the desired level of distressing, it’s time for a secondary coat. This coat should be a different color than your base coat to enhance the distressed look. For example, if your base coat is a light color, consider using a darker stain or paint for this coat. Apply it using a rag or brush, and be sure to wipe off any excess before it dries.
Step 5: Finishing Touches
Once the secondary coat is dry, you can lightly sand the raised areas to reveal the base coat underneath. This will give you a more authentic distressed look. After sanding, clean off any dust and apply a clear topcoat to protect your finish. This can be a polyurethane or wax depending on the sheen you prefer.
Step 6: Allow to Cure
Finally, allow the topcoat to cure completely. This can take anywhere from a few hours to several days, depending on the product used. Be patient—this step is crucial for durability!
Additional Tips
- Test your techniques on a scrap piece of wood before applying them to your final project.
- Consider using a combination of colors for a more complex finish.
- Check out Ted Woodworking for comprehensive plans and ideas to inspire your next project.
Conclusion
Creating a distressed finish on new wood is a straightforward process that can significantly enhance the beauty of your furniture. With just a few basic tools and some patience, you can transform a plain piece of wood into a charming, rustic masterpiece. Happy woodworking!
FAQ
1. Can I use any type of wood for a distressed finish?
Yes, you can use any type of wood, but softer woods like pine are often easier to distress.
2. How long does the distressed finish last?
With proper care and a good protective topcoat, a distressed finish can last for many years.
3. What if I don't have distressing tools?
You can use everyday items like a screwdriver or even your hands to create distressing effects. Be creative!
📚 Related Articles
🔨 Want 16,000+ Woodworking Plans?
Get instant access to step-by-step plans with blueprints and cut lists.
Get Instant Access →