Introduction
Making a wooden cutting board is a rewarding project for beginners looking to dip their toes into woodworking. Not only does it enhance your kitchen, but it also makes for a thoughtful gift. In this tutorial, we will walk you through the process of creating a simple yet elegant cutting board using basic tools and materials.
Materials Needed
- Wood (hardwoods like maple, walnut, or cherry are preferred)
- Wood glue
- Sandpaper (80, 120, and 220 grit)
- Food-safe mineral oil or cutting board finish
- Pencil
- Clamps
- Ruler or measuring tape
- Table saw or circular saw
- Jigsaw (optional for rounded edges)
- Router (optional for decorative edges)
Step 1: Selecting the Wood
Start by choosing your wood. Hardwoods are ideal for cutting boards due to their durability and resistance to knife marks. Common choices include:
- Maple - Affordable and has a light color.
- Walnut - Darker and more luxurious in appearance.
- Cherry - Rich color that deepens with age.
For a basic cutting board, you will need two or three strips of wood that are each about 1 inch thick and 6 inches wide. The length can vary based on your preference, but a standard size is around 18 inches.
Step 2: Preparing the Wood
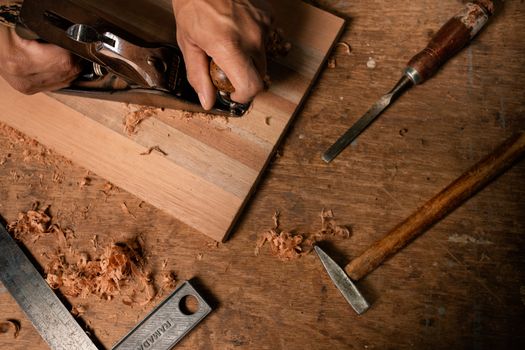
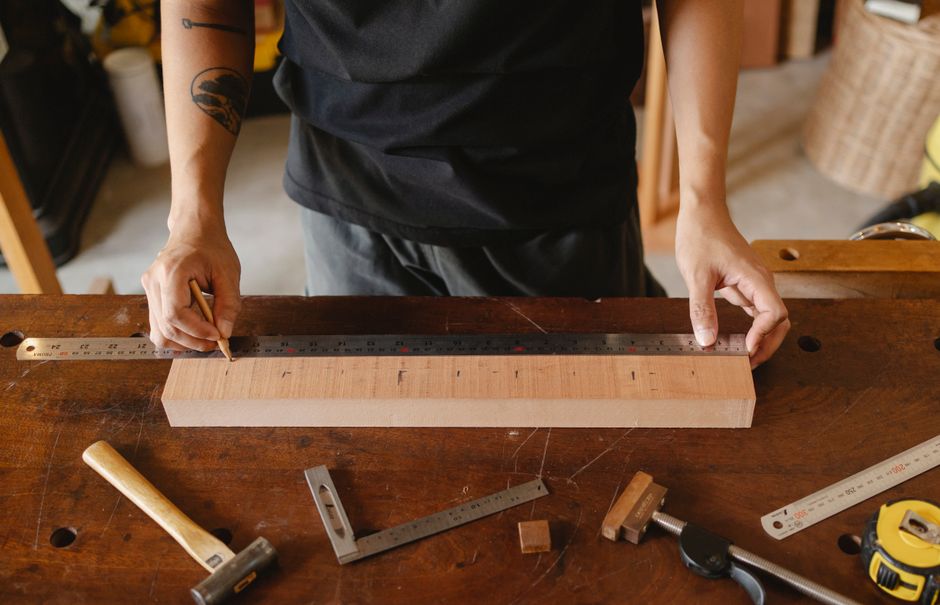
Using a table saw or circular saw, cut the wood strips to the desired length. Ensure that all pieces are of equal thickness for a uniform look. If you want rounded edges, use a jigsaw to create the desired shape.
Step 3: Gluing the Pieces Together
Once your strips are cut, lay them out in the order you prefer. Apply wood glue along the edge of one strip and press it against the next strip. Use clamps to hold the pieces tightly together while the glue dries. Allow the glue to set for at least 1 hour or as recommended on the glue packaging.
Step 4: Sanding the Board
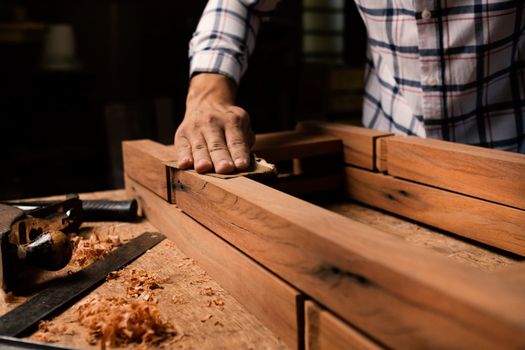
After the glue has dried, remove the clamps and use sandpaper to smooth the surface of the cutting board. Start with 80-grit sandpaper to remove any excess glue and rough spots, then progress to 120-grit for a smoother surface, and finally finish with 220-grit sandpaper for a silky feel. Remember to sand in the direction of the wood grain.
Step 5: Finishing the Cutting Board
To protect your cutting board and enhance its beauty, apply a food-safe mineral oil or a specialized cutting board finish. Use a clean cloth to apply the oil evenly over the entire surface of the board. Allow the board to soak in the oil for a few hours, then wipe off any excess.
Tips for Maintaining Your Cutting Board
- Reapply mineral oil every few months to keep the wood hydrated.
- Hand wash your cutting board with mild soap and warm water; avoid soaking it.
- Never put your cutting board in the dishwasher, as this can warp the wood.
Finding Plans for Your Next Project
If you enjoyed making this cutting board and want to tackle more woodworking projects, consider checking out Ted Woodworking. They offer an extensive collection of woodworking plans that can help you build more advanced projects with ease.
Conclusion
Creating a wooden cutting board is a straightforward and enjoyable project that can be completed in a weekend. Not only will you gain valuable woodworking skills, but you will also have a functional piece of art for your kitchen. Happy woodworking!
FAQs
1. What type of wood is best for a cutting board?
Hardwoods like maple, walnut, and cherry are ideal due to their durability and resistance to knife marks.
2. How often should I oil my cutting board?
It is recommended to reapply mineral oil every few months to keep the wood hydrated and prevent cracking.
3. Can I put my cutting board in the dishwasher?
No, you should hand wash your cutting board with mild soap and warm water. Avoid soaking and putting it in the dishwasher to prevent warping.
📚 Related Articles
🔨 Want 16,000+ Woodworking Plans?
Get instant access to step-by-step plans with blueprints and cut lists.
Get Instant Access →